Pages

Showing posts with label Artbooking. Show all posts

Wednesday, May 25, 2016

Stardust Tea Light Birthday Card

It's my day on the She's a Sassy Lady blog and I'm sharing a card that I made for my youngest DGD's recent birthday.

Rarely, rarely, does this happen, but when I received my new stamps from DesignwithSassy, a card  just popped in my head AND it worked out just the way I hoped!  Ta da!


 I needed a simple tent card, so I placed a square on the DS canvas and sized it at 5" by 10" to form the card base.  It would have been easy peasy to add a variety of differently sized stars on the lower half of the card and attach to make the star shaped cut outs.  Unfortunately,  I wanted to use the "Star in Square" image from the Artbooking cart because I like the way the stars fit at the edges!


I discovered that I was unable to use the contour button to hide the outer square and therefore could not 'attach' the image to the front of the card to cut out the stars.  Soooo, the only way I could make it work was to slice a square in the front of the card base and then weld in the "Star in Square" image.  Yes!!!  Then I attached the score line and voila!


To finish the card I glued on the Accented Star from the Home Decor cart and added a square of platinum vellum behind the stars.  I placed a frame around the outside and inside of the stars panel to finish it off neatly.  Inside I attached the Shooting Stars frame from Artbooking and used my MISTI to stamp the inspirational stardust sentiment from the Happy Birthday collection.


A length of silver ribbon and I was done!


It looks so pretty with the tea light placed inside the card, don't you think?  Then, of course, I had to craft a box since an envelope could not contain both the card and tea light!


Thank you for visiting with me today : )  Christine

Friday, October 30, 2015

Thanksgiving Table Place Name Holders

Several years ago, I made place name holders from the newly released Thanksgiving cart.  They were much admired and a couple even disappeared!   It's way past time for an update to my Thanksgiving table and so I went looking for ideas on Pinterest.   I found some very cute teepee holders and was reminded of the teepee cards I made last year.  Aha!  I had seen an easy peasy teepee card on Collette's Digi-re-doo-dah blog that I was sure I could create in Design Space and here it is: -


It's basically a 6 inches wide by 3 inches deep rectangle with a 1 inch triangle welded on the bottom edge.  There are score lines from the center of the top edge of the rectangle to the triangle point, to one of the bottom angles of the triangle and to both bottom corners of the rectangle.  The panels are triangles welded together and you need two large and two small panels.  I glued the 2 small panels and one of the large ones in between the score lines as shown.


The next step is to apply glue to the top edges and fold into a pyramid shape. The second large panel was adhered on the glued side to conceal the join.


After pushing in the score line between the two small panels, the teepee will fold flat (well, flatish!) for mailing or storage.   Easy peasy!


Now the fun part - embellishing!  The "Give Thanks" sentiment comes from Artbooking, and the wheat and feather cuts come from the Thanksgiving cart.  I left the tips of the feathers unglued so that I could insert the place card.  The leaves are cut with dies from Sunny Studios because I just love the added definition to the edge that you get from a little steel die.


Here's just two of the place card holders.  I'm eschewing matchy-matchy this year and making them with different designer papers for the panels.  (I learned the hard way not to use a paper with an obvious one way pattern!!!!)  And, if one or two disappear again, I won't be scrambling to find a piece of paper to match the rest! 


  It was simple to make a larger card sized version of the teepee place name holder and I'm glad to have this easy peasy template in my DS files.  Thank you for visiting with me today.  : )  Christine
Thursday, May 7, 2015

Mother's Day Box Card

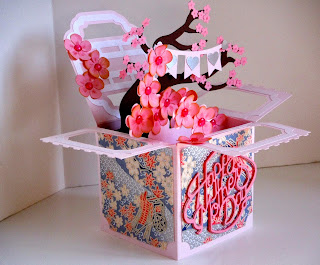
Yahoo!  I got three of my 'started and stalled projects' completed today including a Mother's Day card for my DD - the ever patient Mom of Master J.  I love this cherry blossom box card from SVG Cuts and it was a lot of fun to make.


I added a banner from the CTMH Artbooking cart to the tree branch to soften the ikebana effect.


The sentiment comes from the Mother's Day 2015 set of images and is included in my subscription.  It's very pretty and although quite delicate, cuts like a dream.  Since we are STILL waiting for the offset (shadow) feature to be added to Design Space, I cut the sentiment 4 times and stacked them on top of each other.  I slid the top pink image over slightly before the glue took hold to reveal the silver second layer.  This technique makes the die cut sentiment 'pop' don't you think?


I used some of my precious Japanese washi paper for the side panels.   The paper is just gorgeous!


I haven't entered any challenges for ages, but have been so inspired by the entries over on the BBTB blog and at Craftin Desert Diva's, that I am linking up my box card and hope you will pop over to see the cards.   Thanks for visiting with me today.   : )  Christine


Wednesday, April 8, 2015

Hapbee Belated Birthday Card

One of my on-going projects since the arrival of my Explore, has been the recreation of the basic cards I had on my Gypsy.  I had been playing with this bee-lated birthday design for a while before realizing, last week, that I desperately, immediately, positively, needed it right then!


I had added the hexagon overlay from CTMH Artbooking and as you can see, I had welded it to a  square to make a shaped mat for the front of the card.  Well, nope!  That did not work, so back I went into Design Space and started again.  This time I created a 5 inch by 10 inch rectangle and sized the hexagon overlay to fit within the front edge of the rectangle.

Decision Time!  Do I WELD it to the front edge, or use the SLICE tool to cut away the interior hexagons?   I have to say that both cards looked pretty cool.


I chose to weld, but first, I had to use the contour button to remove the four interior pieces along the edge.


Of course, once the two pieces were welded, it was no longer 10 inches long, and as I discovered,  resizing distorted the hexagon shape and the original hexagon overlay would no longer fit nicely.  Thank goodness for the UNDO button!


The card was now 10.41 inches wide, so, I created a .41 inch wide rectangle and positioned it at the left side of the card, I used the SLICE button to restore the card base to 10 inches wide.  (Seems like a lot of extra effort, doesn't it, when I could have removed .41 inches with my trimmer? LOL!  However, this is a card I will make several times, so I wanted it to be properly designed.)


And here is the finished card:-


and the interior: -


Now this card is on Design Space, I can change the way it looks with different papers and embellishments.  Lets hope that I don't have to use it too often!   Thanks for visiting with me today.  : ) Christine

Thursday, January 29, 2015

Sympathy Card

The new barn is almost completed!  DH is sorting and labeling 40+ years of 'stuff' and storing it in the cabinets we rescued from our kitchen remodel.  I was inspired to reorganize my craft supplies starting with my paper collection.  As my little sanctuary became messier and messier, I really doubted the wisdom of trying to reorganize and downsize.  However, now that it's done, I am SO happy with my room.  Yeah!

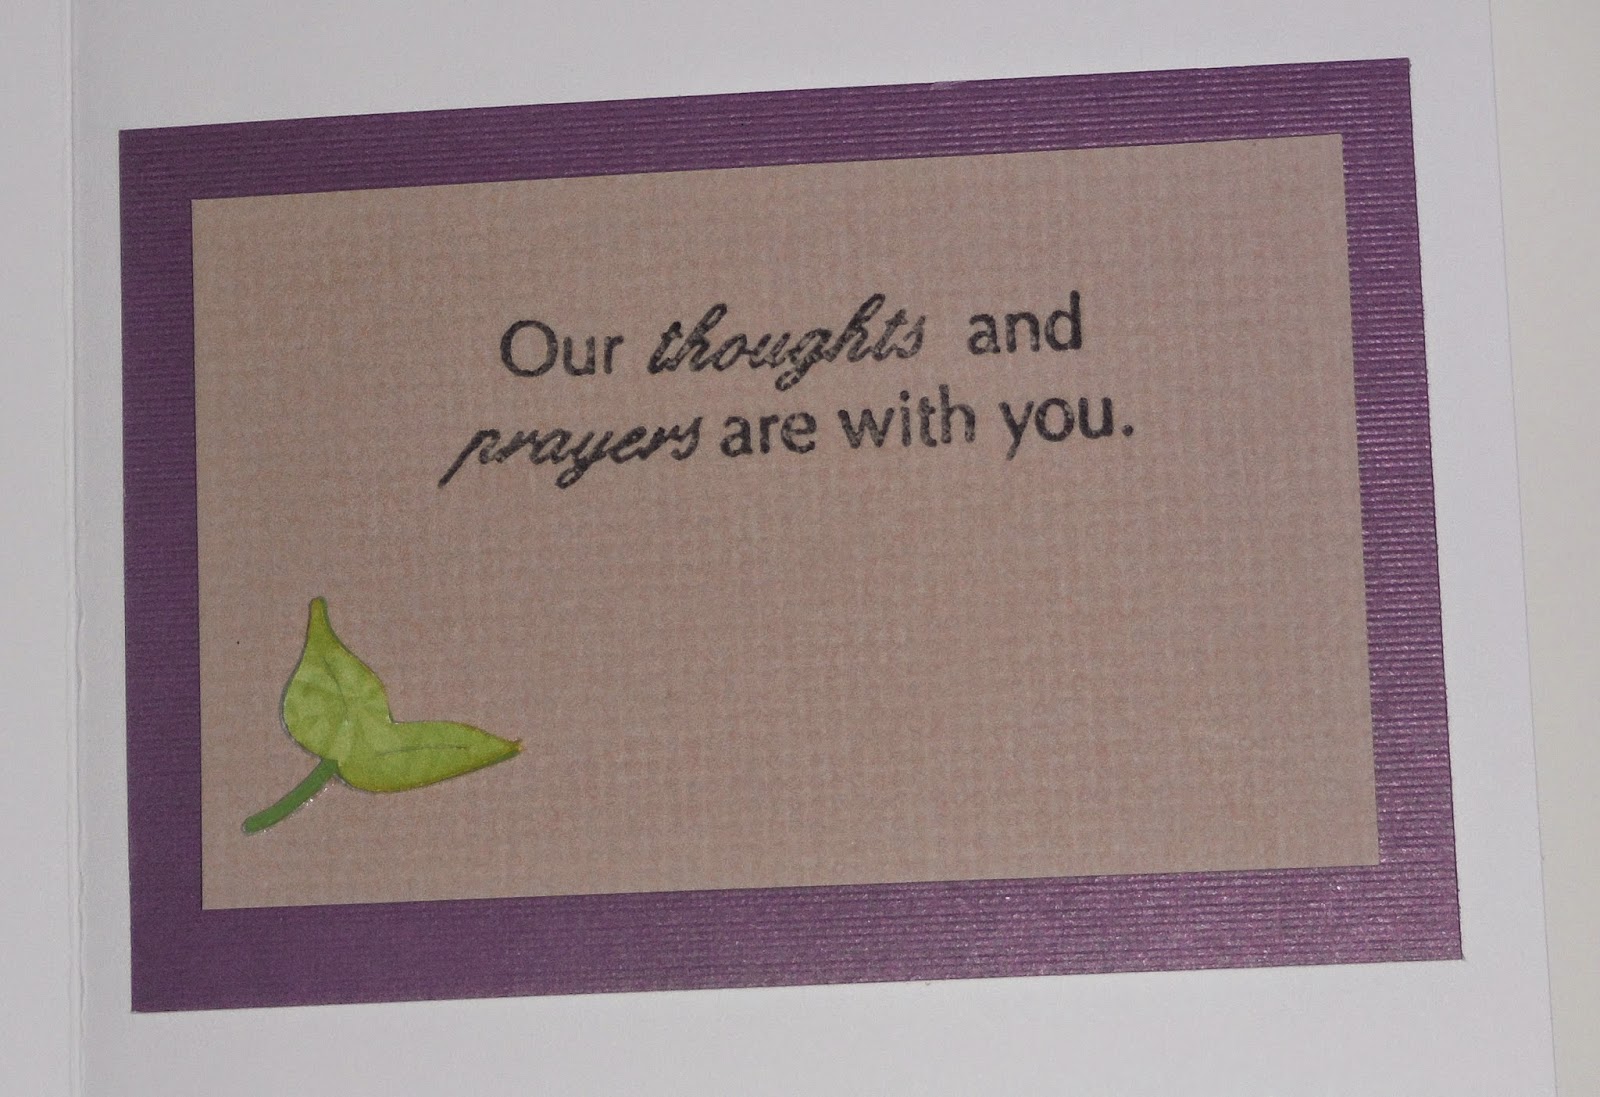
I was totally, totally, amazed at how much purple paper I have accumulated!  But I loved sorting it out and admiring all the shades and hues.  So, when I sat down to make a sympathy card for this week's BBTB2 challenge, I was very happy to dip into my purple stash.

 Most of the sympathy cards that I make, are mailed, so I try to keep them as flat as possible.  I like to add a mat, and embossing for texture and interest  I love these little flowers from the Sophie cart and the Explore cut them perfectly.  That's a quarter sitting besides the top layer of the flower.  Amazing!


The leaves are from Stretch Your Imagination, and the mat comes from Artbooking.  I chose the sentiment from the Phrases cart, but went back later into my DS file and replaced it with the "With Sympathy" sentiment from the Jasmine font cart when I saw it used on the cards by Maureen and Sharon.  So pretty.


For the inside, I used my new stamps from Robin, My PinkStamper.


I have to have a selection of Sympathy Cards in my stash since they are so hard for me to make.  If you are like me, I suggest you pop over to BBTB and scraplift a few of the DT cards.  It's on my ToDo list!   Thanks for visiting with me today.  : ) Christine
 
Blogger Template By Designer Blogs